Bonus guide: Zap Desktop
The desktop app Zap is a cross-platform Lightning Network wallet focused on user experience and ease of use.
Difficulty: Easy
Status: Tested v3
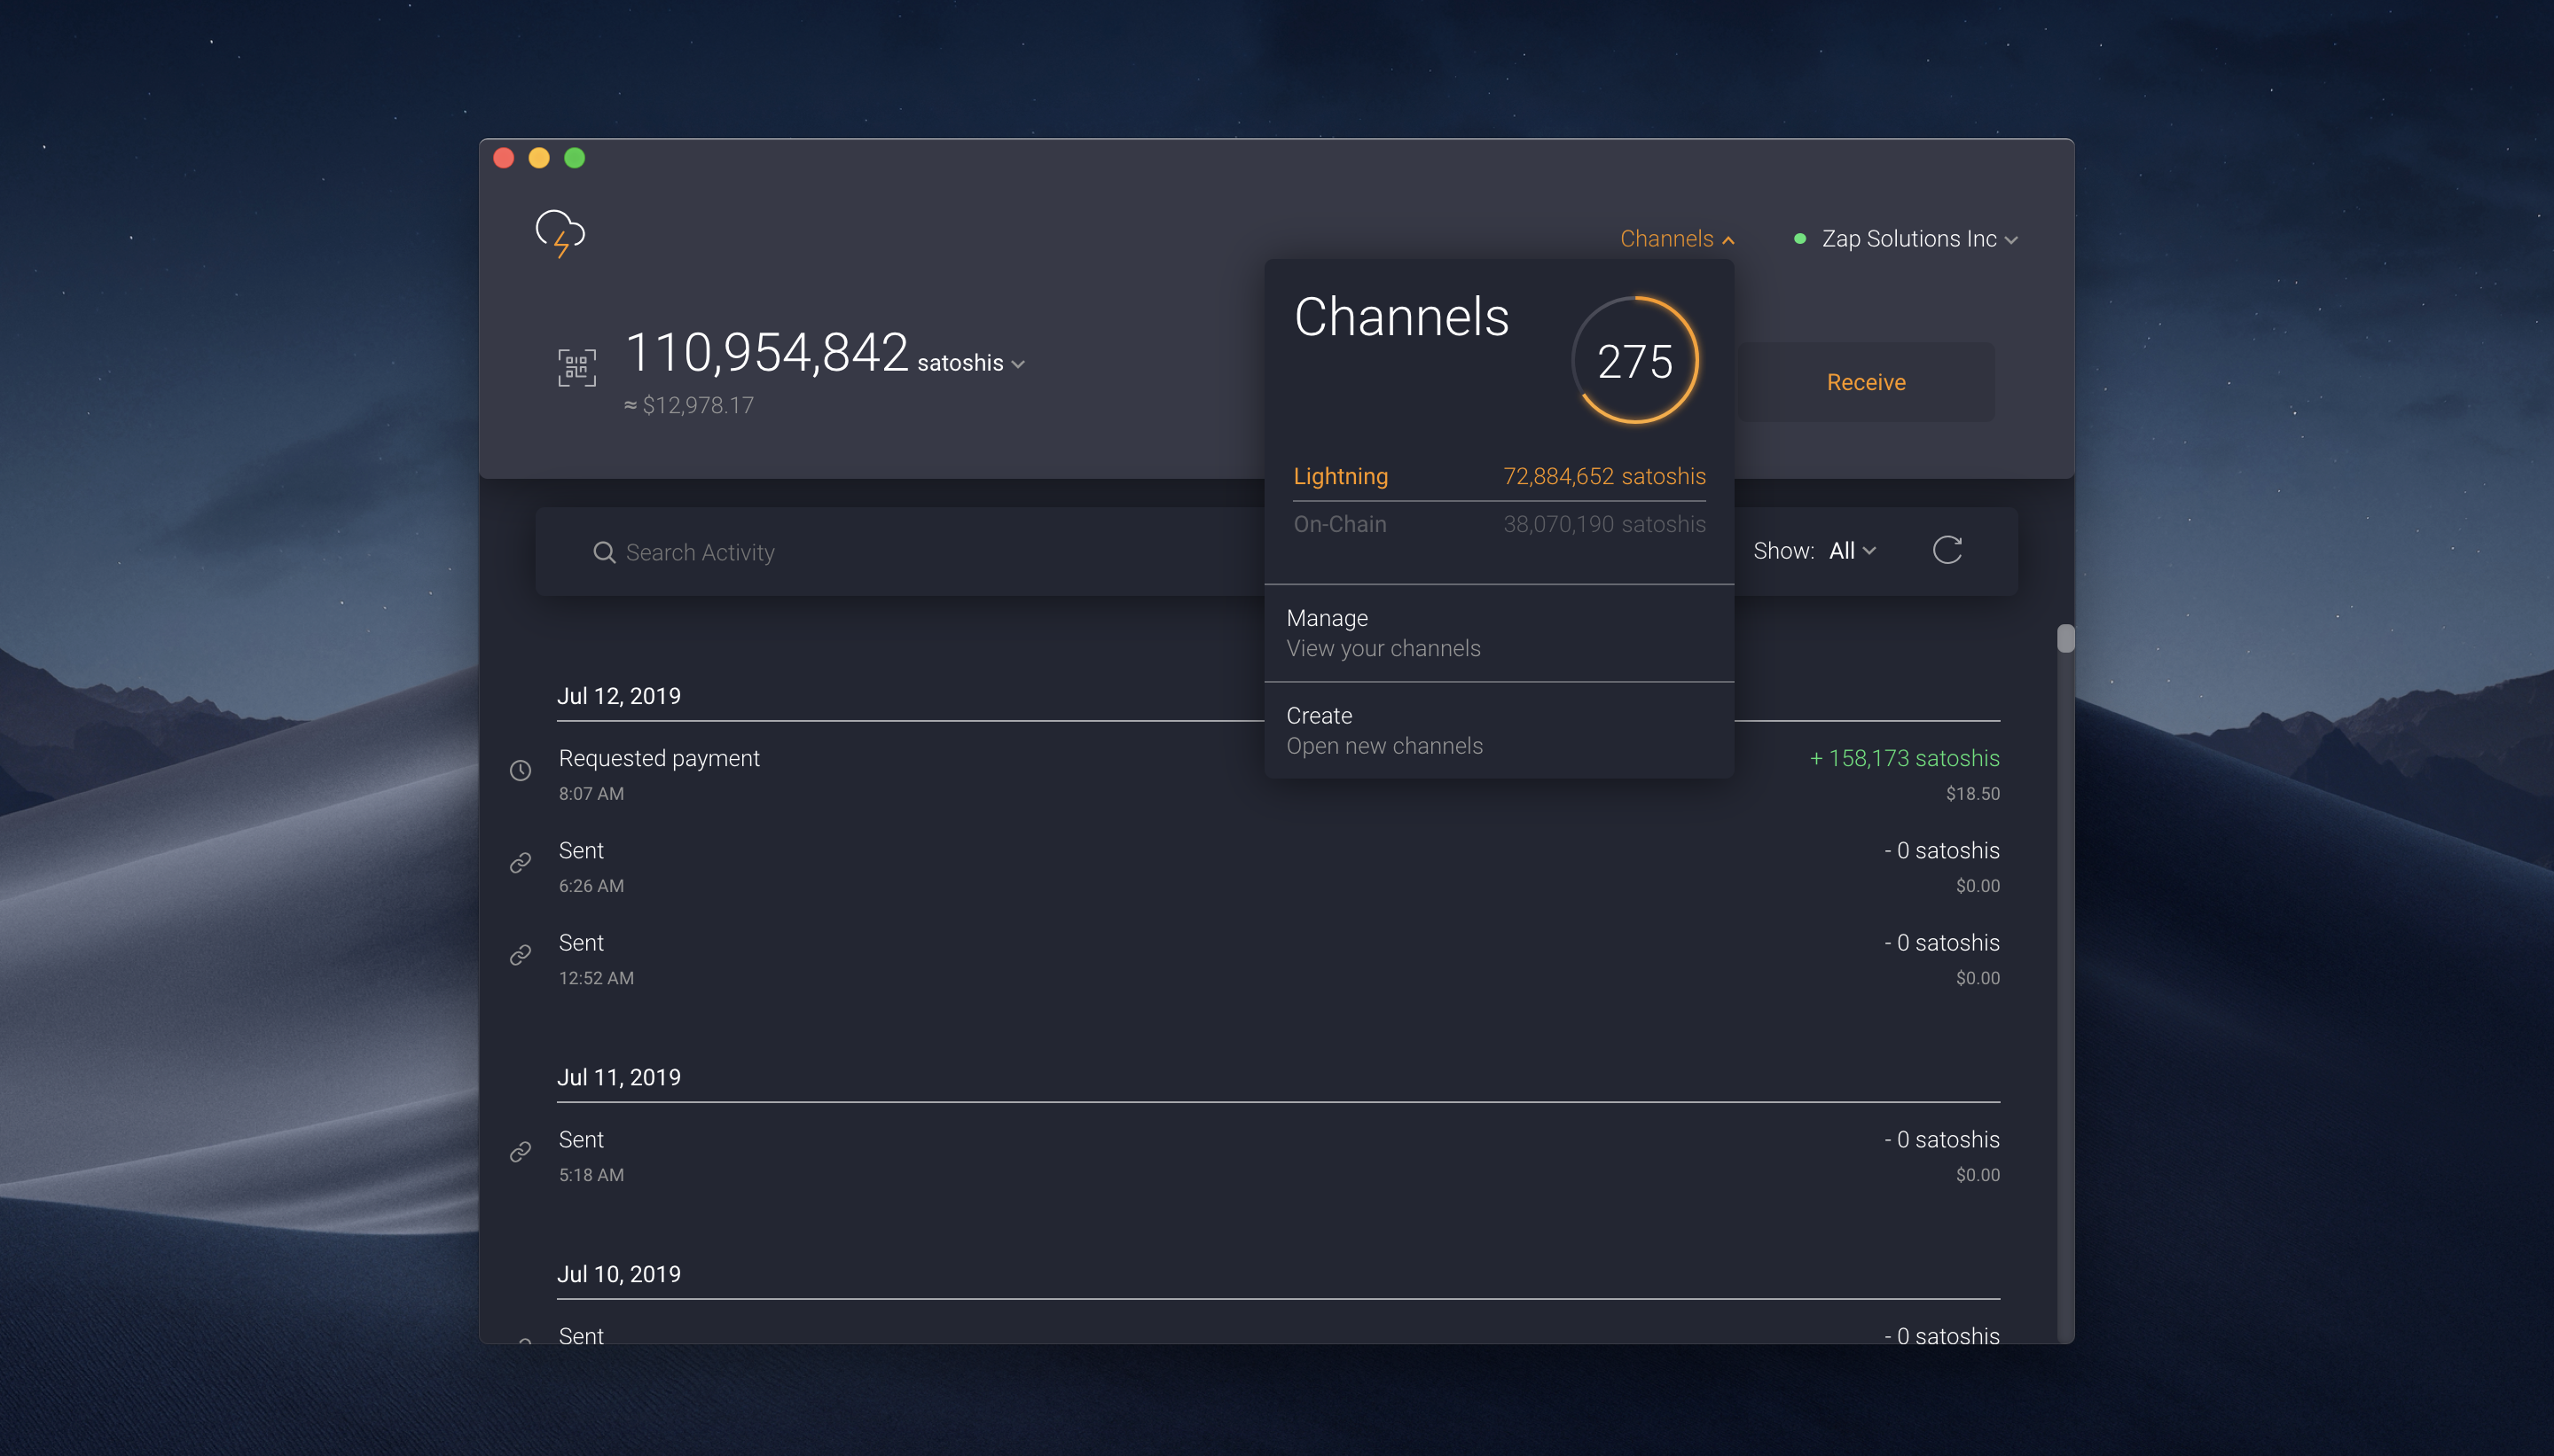
Table of contents
Preparations
Update LND TLS certificate
We enable access to LND through Remote Procedure Calls (RPC), allowing the Zap Desktop application to communicate with LND directly. This access is restricted to devices on the local network.
-
With user “admin”, open the LND configuration file
$ sudo nano ~/.lnd/lnd.conf -
Add the following lines to the section
[Application Options]. The netmask/16restricts access to all computers with an IP address of 192.168.. (i.e., the local network).# Add local network IP address to LND's TLS certificate tlsextraip=192.168.0.0/16 rpclisten=0.0.0.0:10009 -
Backup and delete the existing
tls.certandtls.keyfiles and restart LND to recreate them.$ sudo mv ~/.lnd/tls.cert ~/.lnd/tls.cert.bak $ sudo mv ~/.lnd/tls.key ~/.lnd/tls.key.bak $ sudo systemctl restart lnd
Firewall
-
Configure the UFW firewall to allow incoming requests from the local network only
$ sudo ufw allow from 192.168.0.0/16 to any port 10009 comment 'allow LND grpc from local LAN'
$ sudo ufw status
Install lndconnect
We will connect Zap to the RaspiBolt using a connection string that includes the connection and authentication information. lndconnect, created by Zap, is a utility that generates a QR Code or URI to connect applications to LND instances.
-
Still with the “admin” user, download the binary and install it
$ cd /tmp $ wget https://github.com/LN-Zap/lndconnect/releases/download/v0.2.0/lndconnect-linux-arm64-v0.2.0.tar.gz $ tar -xvf lndconnect-linux-arm64-v0.2.0.tar.gz $ sudo install -m 0755 -o root -g root -t /usr/local/bin lndconnect-linux-arm64-v0.2.0/lndconnect $ cd -
Generate the connection string (the
-ioption include the local IP; the-joption generates a string rather than the default QR code)$ lndconnect -i -j > lndconnect://192.168.0.20:10009?cert=...
Zap
Now that we configured the node, we can install Zap on the local computer and connect it to our node.
Installation
Download and install Zap for your operating system following this guide from Zap. Before installing Zap, you can verify the release following this guide.
Connection
- Launch Zap
- Choose the
Connect to your nodeoption - Paste the connection string generated above (starting with with
lndconnect://...) - Add a wallet name (e.g., “MyRaspiBoltNode”)
- Click “Next”. In the new window, check that the displayed IP belongs to your node, then click “Next”.
Security
- Go to “File” > “Preferences” > “Security” and enable the application password
You’re set! You can now use Zap on your computer to send and receive LN payments, open and close channels, and monitor your node.
Update
Zap download and install updates automatically by default. If you want to disable the auto-update and update Zap manually:
- Go to “File” > “Preferences” > “General”
- Click on the autoupdate slider
- Click “Save”
Uninstall
If you stop using Zap, it is safer to restrict access to LND gRPC. But make sure that no other program requires access to it (e.g., if you’ve installed Lightning Terminal with a remote connection to LND)
-
Open the LND configuration file and comment out the following two lines:
$ sudo nano ~/.lnd/lnd.conf#tlsextraip=192.168.0.0/16 #rpclisten=0.0.0.0:10009 -
Backup and delete the existing
tls.certandtls.keyfiles and restart LND to recreate them.$ sudo mv ~/.lnd/tls.cert ~/.lnd/tls.cert.bak $ sudo mv ~/.lnd/tls.key ~/.lnd/tls.key.bak $ sudo systemctl restart lnd -
Display the firewall status and note the number of LND grpc rule (e.g. below, X)
$ sudo ufw status numbered > [...] > [ X] 10009 ALLOW IN 192.168.0.0/16 # allow LND grpc from local LAN > [...] -
Delete the rule. When prompted, check that you are deleting the desired rule and confirm.
$ sudo ufw delete X
« Back: + Lightning